
These adorable and delicious Chocolate Covered Halloween Oreos are perfect for a Halloween party of spooky movie night! These festive treats are only 3-ingredients and super easy to make.

These Chocolate Covered Halloween Oreos are spook-tacular for all of October! These fun and festive treats can be loved by all ages and no artistic talent is necessary for a simply beautiful treat. Just melt chocolate melting wafers, dip Oreo cookies and top with a festive royal icing decoration. These are perfect for a Halloween party, gift giving or even for a scary movie night at home.
If you're looking for even more Halloween tricks and treats you have to try my Spider Web Cookie Cake, Ghost Rice Krispie Treats, Halloween Caprese Skewers and Halloween Pasta Salad.

Why You'll Love this Recipe
- Easy to make
- Only 3 ingredients
- Cute treats to hand out/ gift giving
- Perfect combination of sweet and crunchy
- No baking required
- Adorably festive!
Ingredient Notes

Oreo cookies – use any flavor that you like! I use standard Oreos.
Chocolate - For all my chocolate dipping needs I use Ghirardelli Melting Wafers. They are delicious, easy to use and come in a variety of flavors - milk chocolate, dark chocolate, and white chocolate. Grab your favorite and start melting. No tempering is required to get that glossy chocolate coating! Find them at most grocery stores in the baking aisle, Target, Walmart and even Amazon. It's the only ingredient in my One-Ingredient Chocolate Bag.
Royal Icing Decorations - think of these like giant sprinkles! They come in a variety of sizes and styles for all occasions. I like buying from Confectionary House and Sprinkle Pop because of the variety and they usually have the daintier options compared to what you might find at craft stores like Michaels. You could also find them on Amazon and even Etsy. The only thing to keep in mind is a standard Oreo is 1.75 inches wide
Step-by-Step Instruction
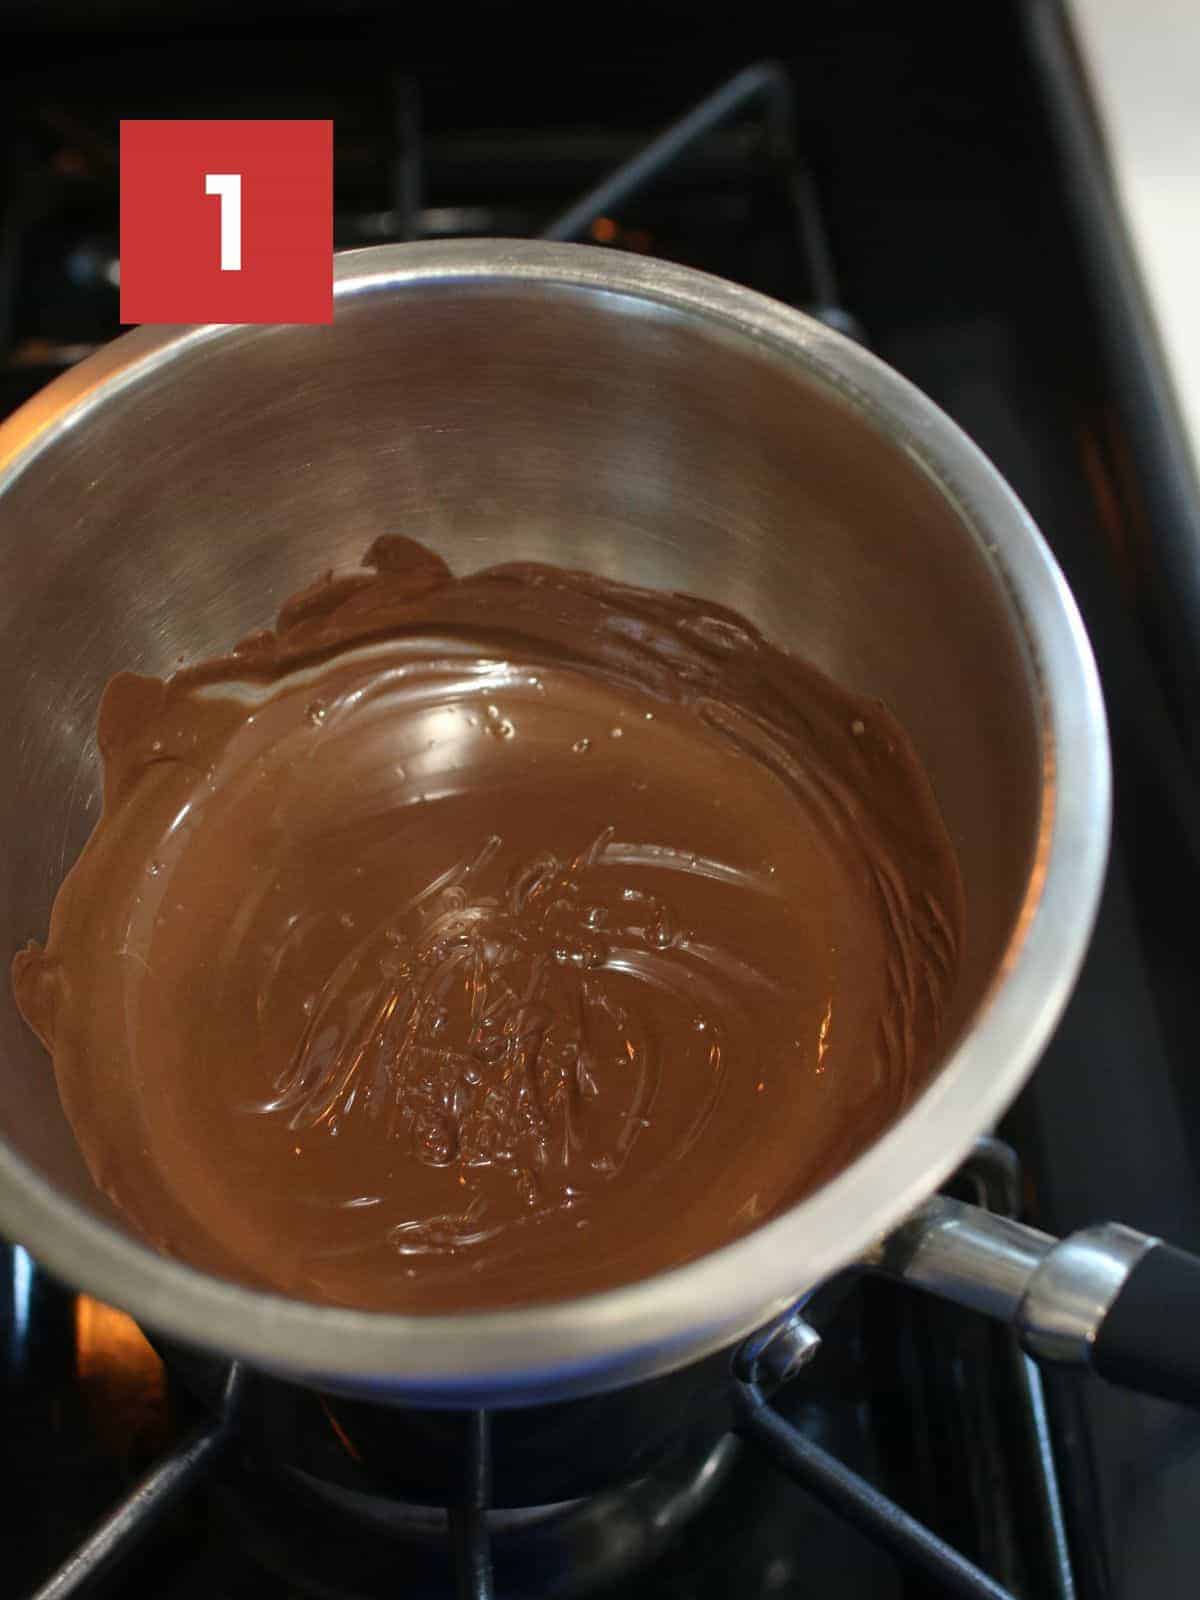
- Heat Ghirardelli Chocolate Melting Wafers according to package. I am using the double boil method. Melt chocolate until smooth and completely melted.
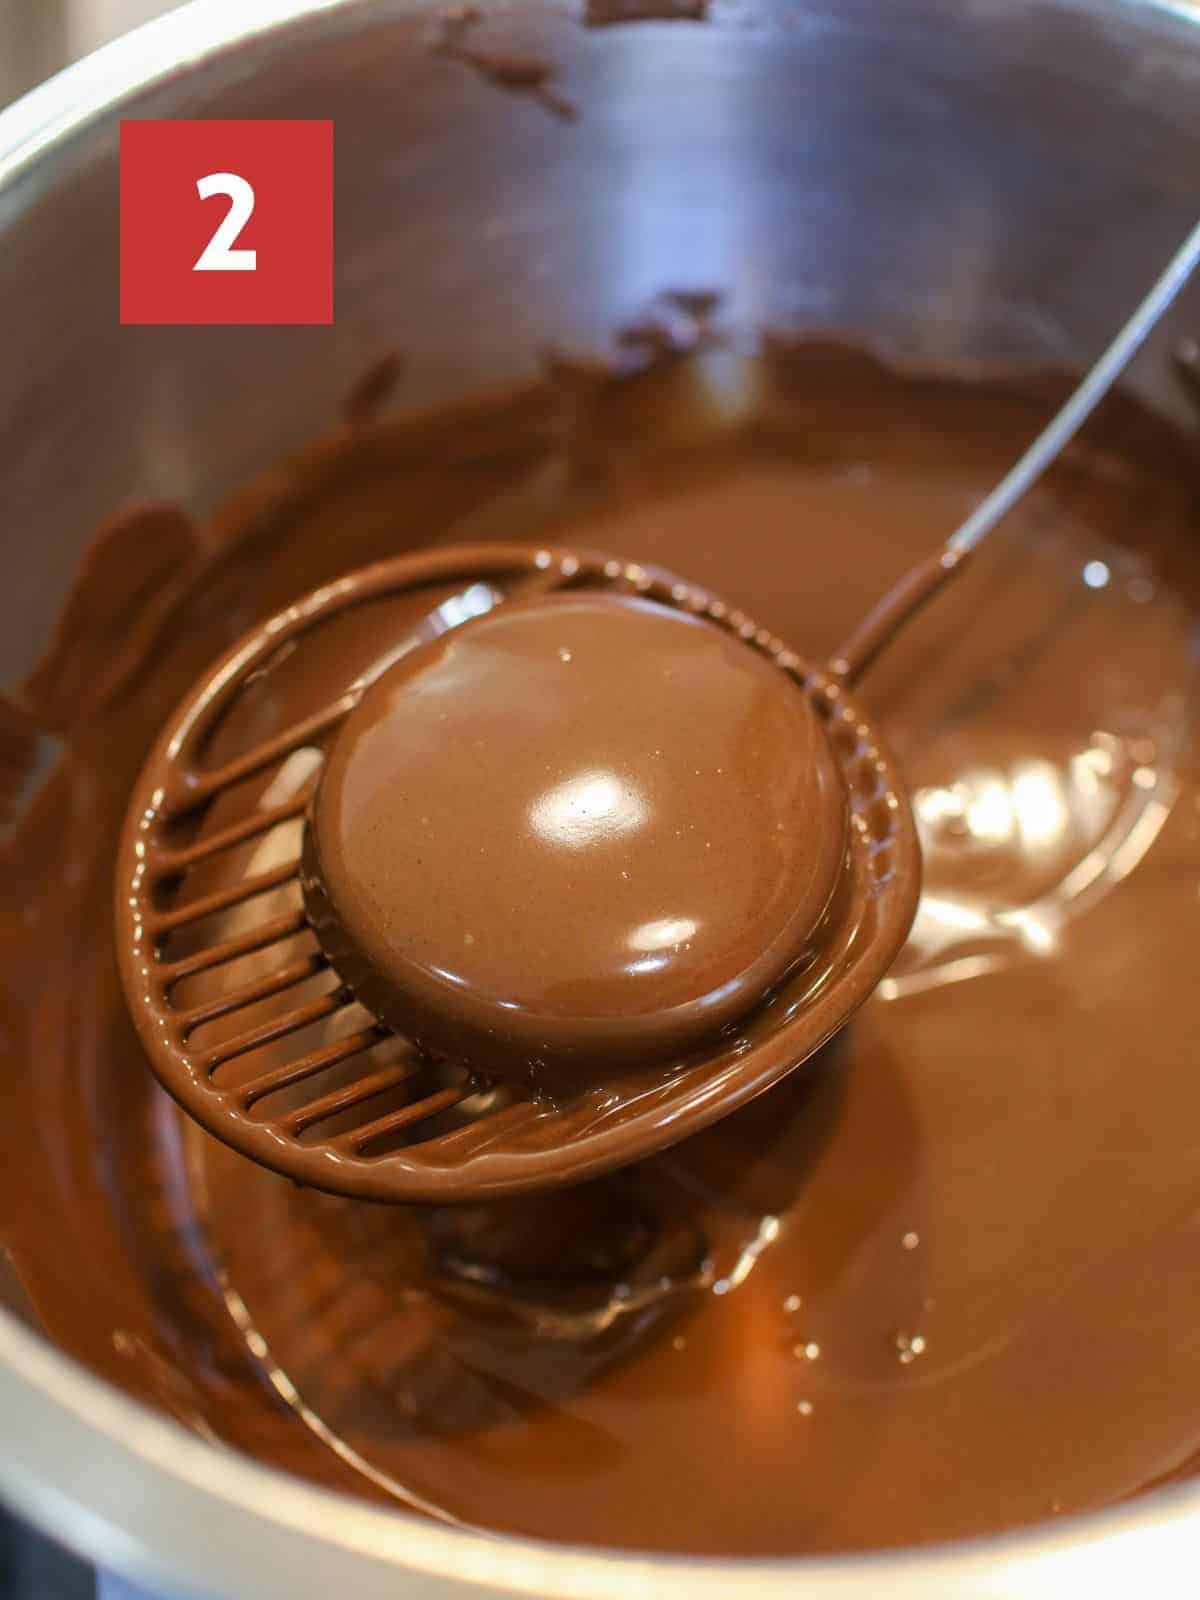
- Using a fork or a dipping tool (slotted spoon), dip an Oreo cookie in melted chocolate then hold it over the melted chocolate for a few seconds to allow some of the excess chocolate to drip off. Carefully transfer cookie to a clean fork or dipping tool (3-prong dipping fork). This ensured not too much chocolate sticks to the bottom of the Oreo.
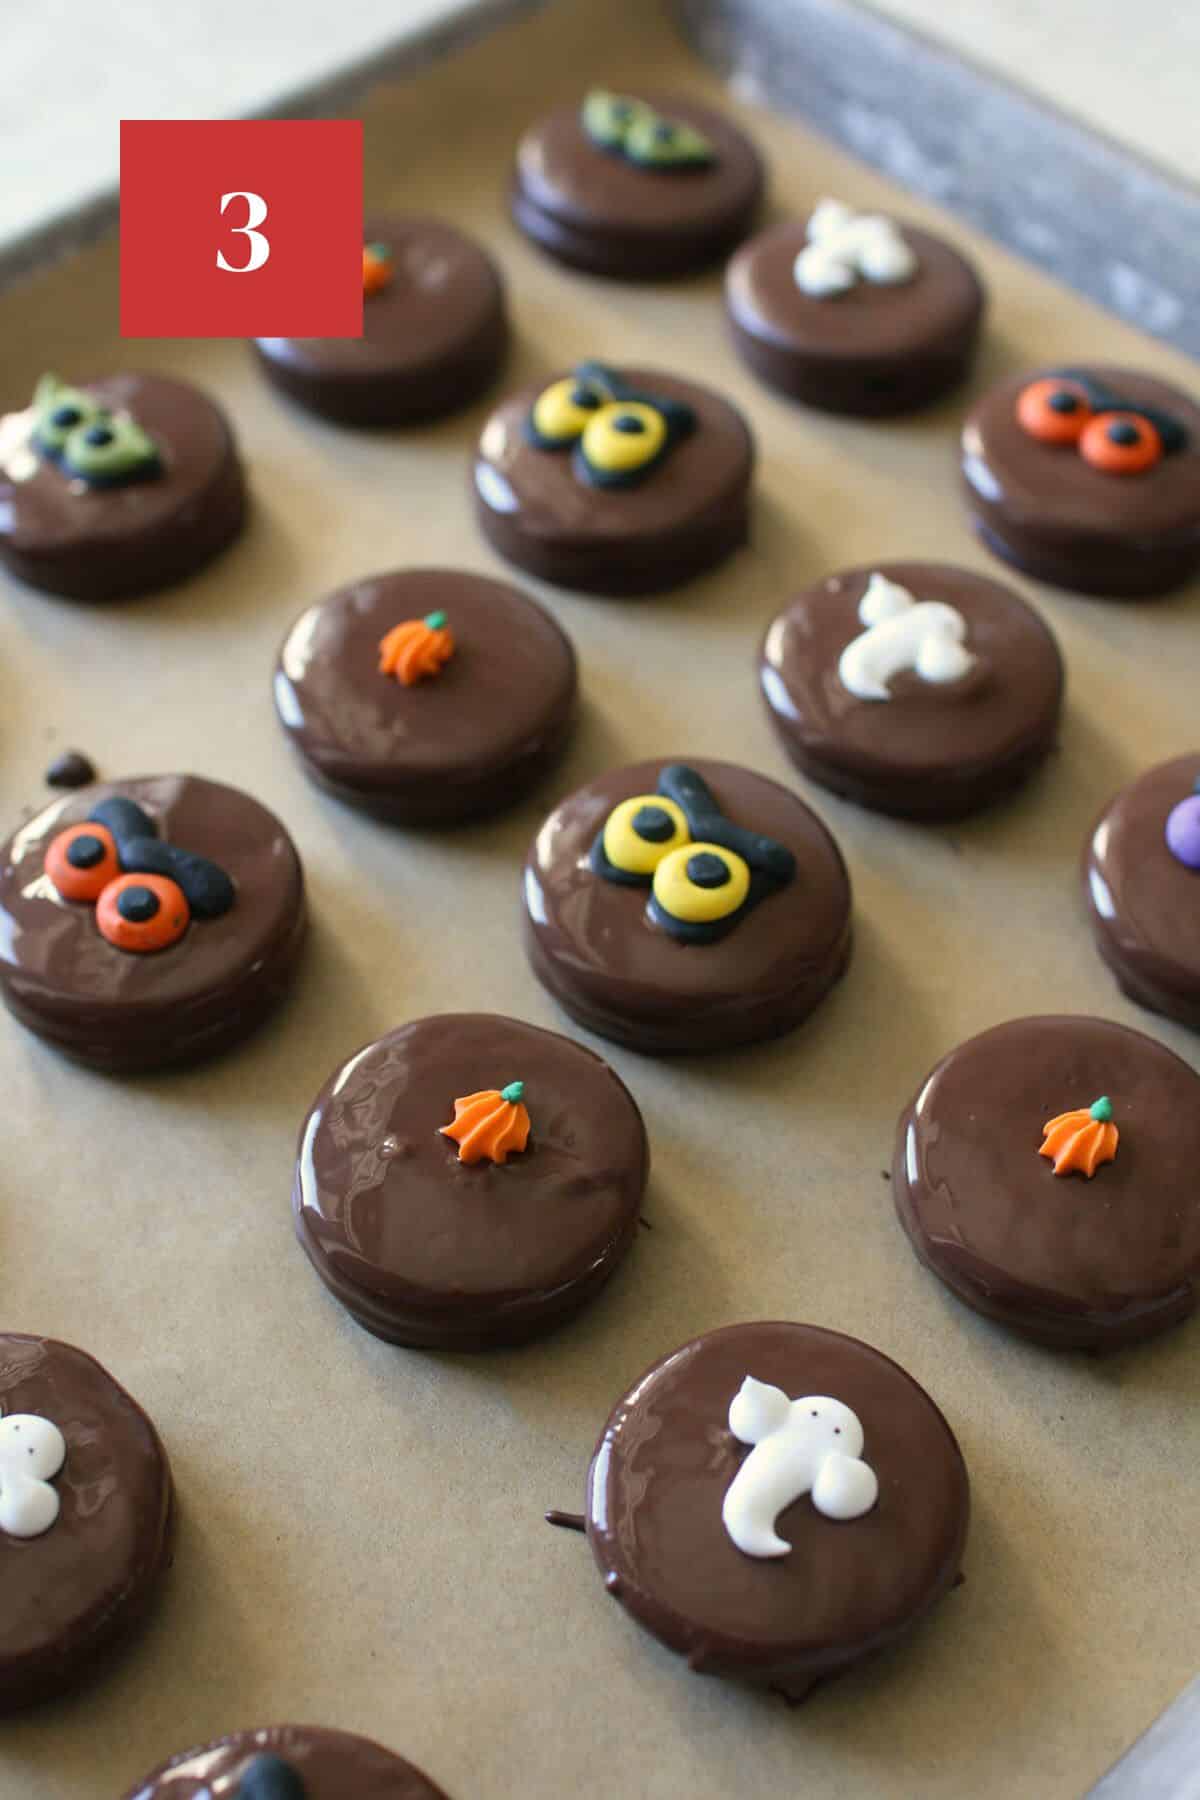
- Place on a sheet tray lined with parchment paper. Immediately, top with a royal icing decoration in the center of the Oreo. Repeat with remaining Oreos and allow the chocolate covered Oreos to set at room temperature until completely dried. Once dried, remove and enjoy!
Expert Tips
Make sure all your equipment is absolutely dry and free from any water droplets, otherwise your chocolate will seize and be grainy.
Keep your hands mess free with these tools! I use this 5-piece Wilton candy melt decorating piece set. Perfect for dipping, dunking and drizzling a variety of treats including Oreos, pretzels, fruit and much more. I used the slotted spoon to dip the Oreos and let the access chocolate drip off. Then, I carefully transferred the oreo to the 3-prong dipping fork so there's minimal chocolate stuck and then placed on the parchment paper. And, clean off the chocolate on the 3-prong dipping fork in between each use.
When dipping, shake off excess chocolate by gently shaking the tool or tapping the tool against the bowl with the melted chocolate. But, not too much! You still want a thick enough coating that you don't see the design of the Oreo underneath.
Using a tooth pick/small offset spatula if you have any air bubbles in your chocolate and need to smooth it out.
Don't use broken Oreos! In a pack of Oreos, you'll come across some cookies that are broken or split. Do not use them. As any loose crumbs will taint your melted chocolate.

Recipe FAQ
Tempering chocolate is the tried and true method for chocolatiers. It's the process of heating and cooling chocolate to stabilize it. This process gives chocolate its shiny, glossy appearance and gives the chocolate a 'snap' when eaten. Usually, you need additional tools to temper like a chocolate tempering machine, cooling marble slab, chocolate thermometer, etc. This process also takes additional time.
Alternative, chocolate melting wafers takes much less time than tempering and achieves a smooth finish. Also, not need to a ton of extra equipment but items dipped in chocolate melting wafers are more 'fragile' as they can easily ding if touched by other treats and will slightly melt if held in hands too long.
You can read more about tempering chocolate with this guide.
No. I would recommend melting wafers as they are made for dipping. They melt super smoothly and set up firmly when used compared to chocolate chips which do not hold their shape.
Store chocolate covered Oreos in an air tight container in a single layer at room temperature for 2 weeks. Just be sure, that it is not placed in a hot area or else the chocolate will melt.
Depending on how fast your are dipping, the chocolate will slowly solidify overtime. You should be able to re-melt easily using the method you originally used. Just carefully watch it as it will take less time for it to re-melt and you don't want the chocolate to burn!
You Might Also Like

PS If you try this recipe, why not leave a star rating in the recipe card right below and/or a review in the comments section further down the page? I always appreciate feedback. You can also follow me on Pinterest, Facebook or Instagram.

Chocolate Covered Halloween Oreos
Ingredients
- 16-20 Oreo Cookies standard size
- 10 ounces Ghirardelli chocolate melting wafers (dark, milk or white)
- 20 royal icing decorations
Instructions
- Heat Ghirardelli Chocolate Melting Wafers according to package. I am using the double boil method. Melt chocolate until smooth and completely melted.
- Using a fork or a dipping tool (slotted spoon), dip an Oreo cookie in melted chocolate then hold it over the melted chocolate for a few seconds to allow some of the excess chocolate to drip off. Carefully transfer cookie to a clean fork or dipping tool (3-prong dipping fork). This ensured not too much chocolate sticks to the bottom of the Oreo.
- Place on a sheet tray lined with parchment paper. Immediately, top with a royal icing decoration in the center of the Oreo. Repeat with remaining Oreos and allow the chocolate covered Oreos to set at room temperature until completely dried. Once dried, remove and enjoy!
Did you make this recipe? Let me know!