
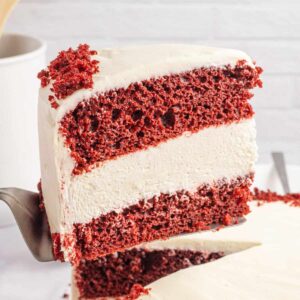
This Red Velvet Cheesecake Cake is exactly what it sounds like! It's part red velvet cake and part cheesecake. The best of both (dessert) worlds! This is perfect for Valentine's Day and everyday occasions.
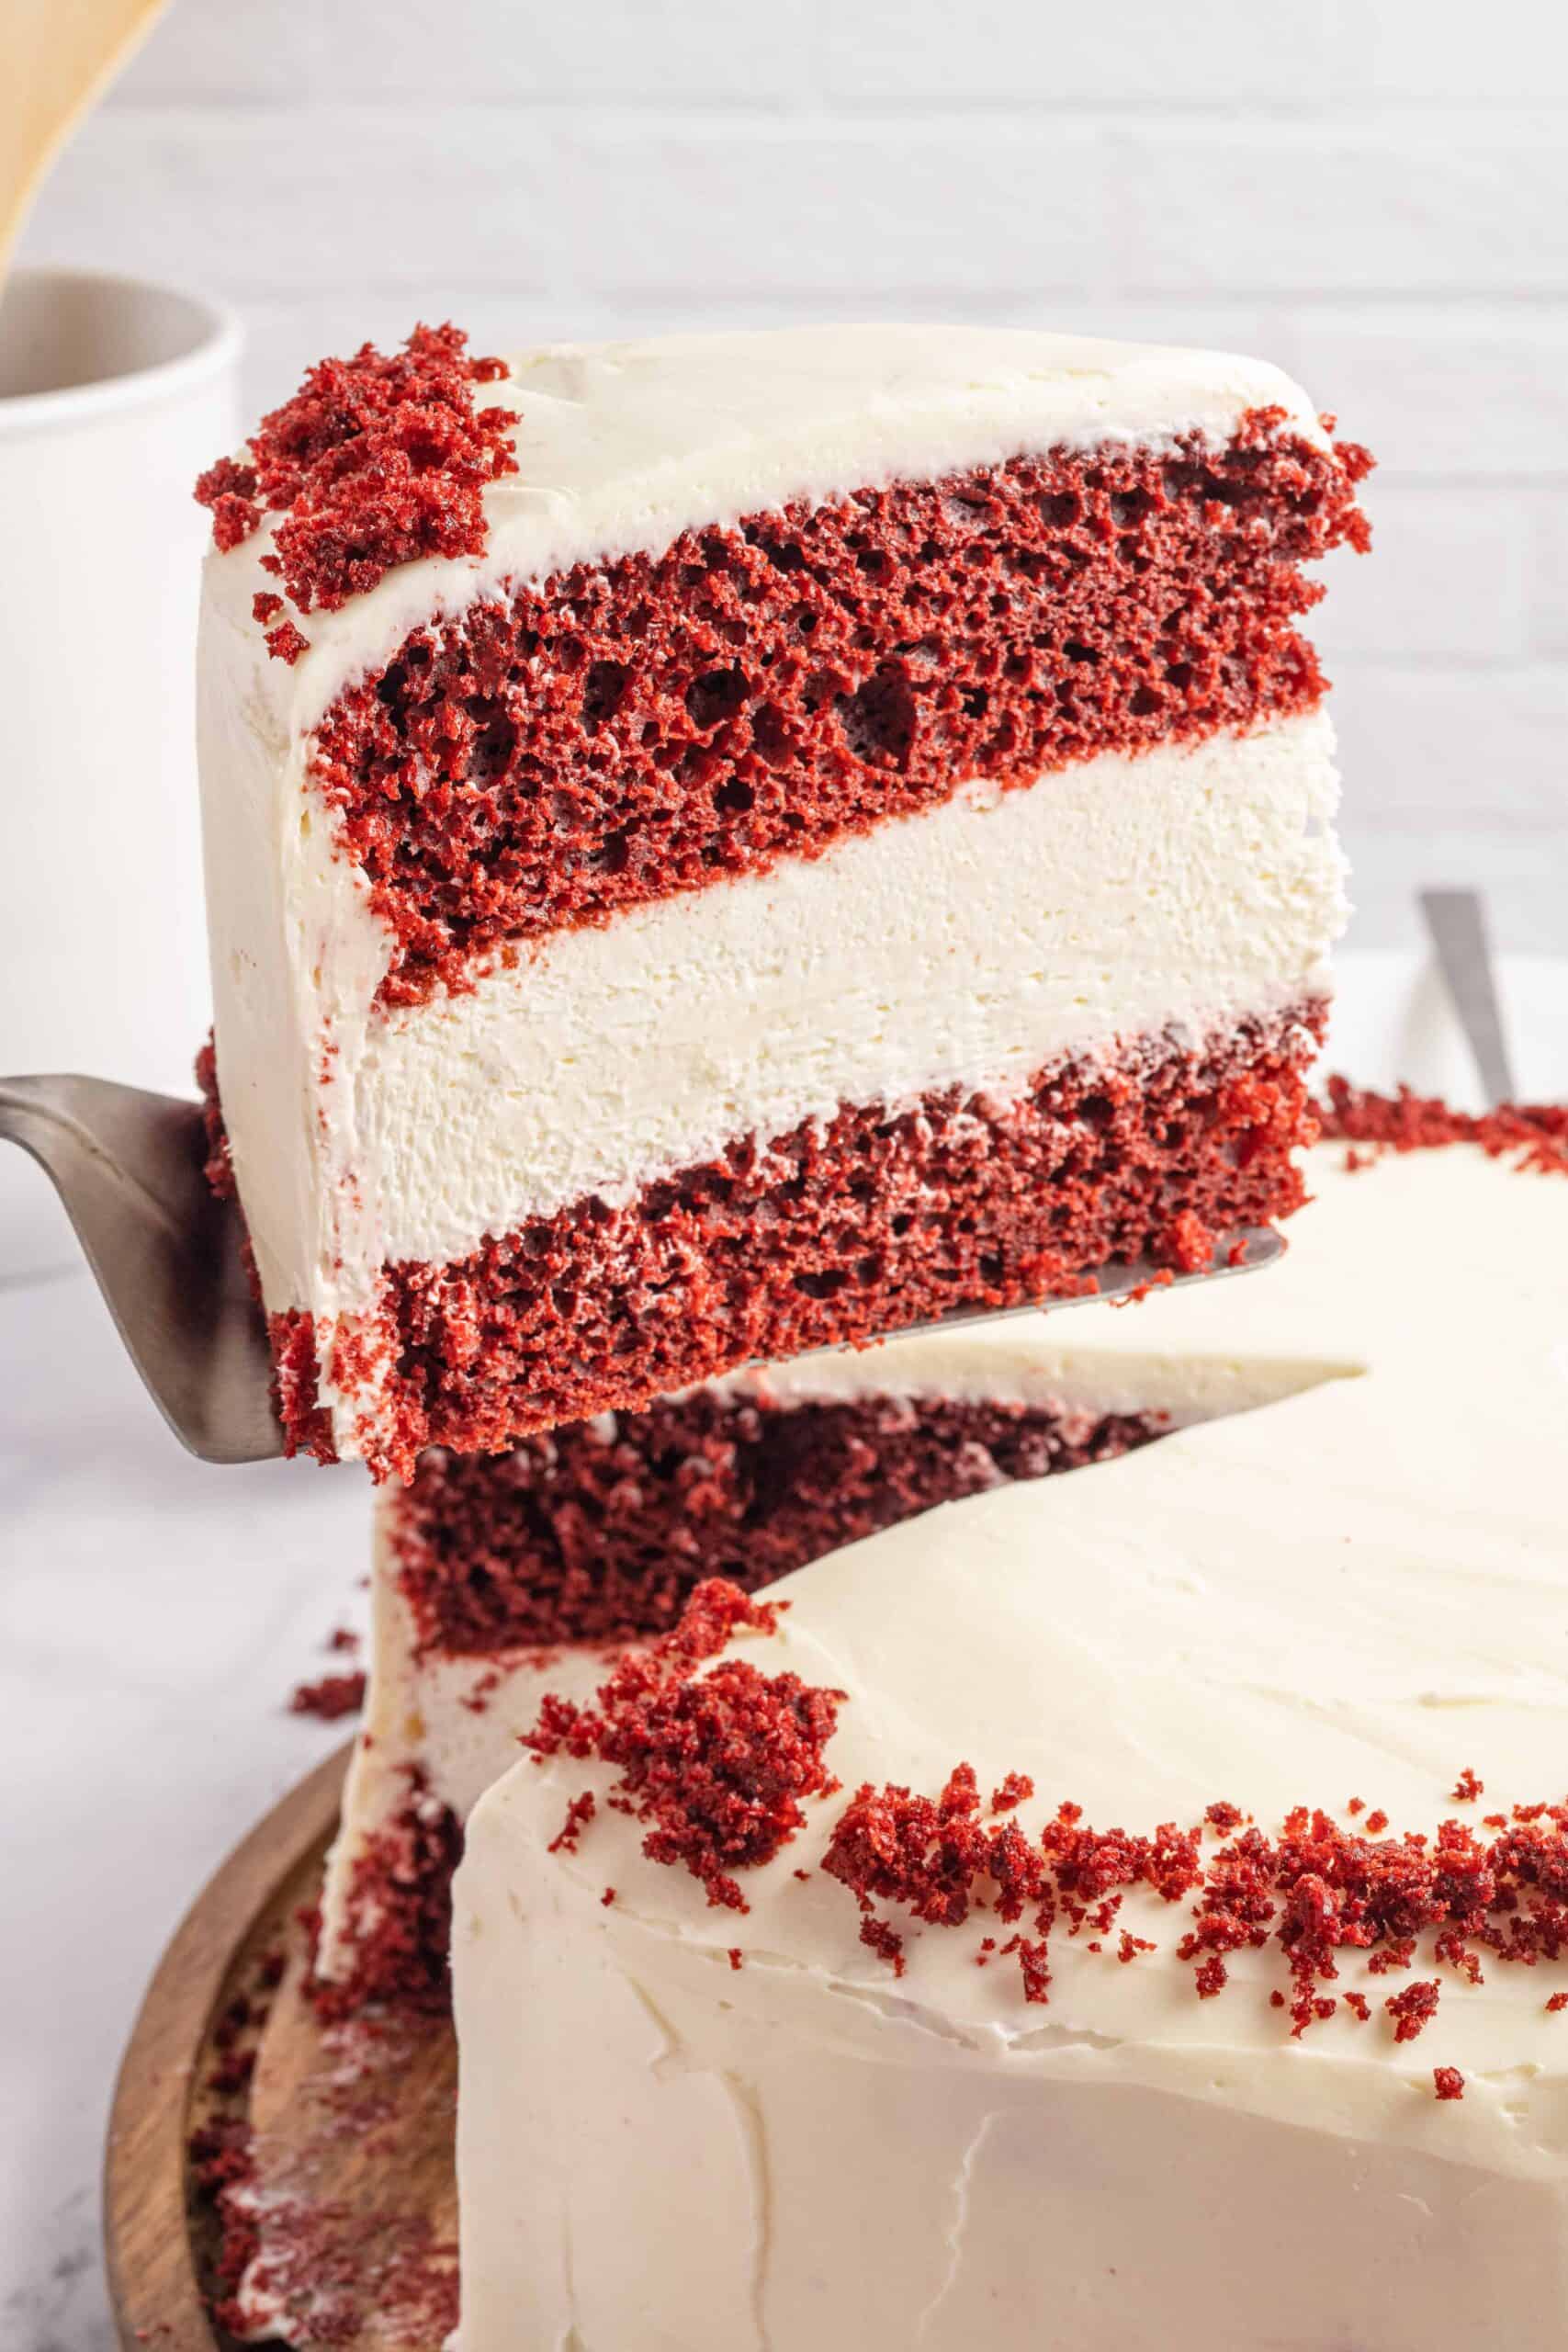
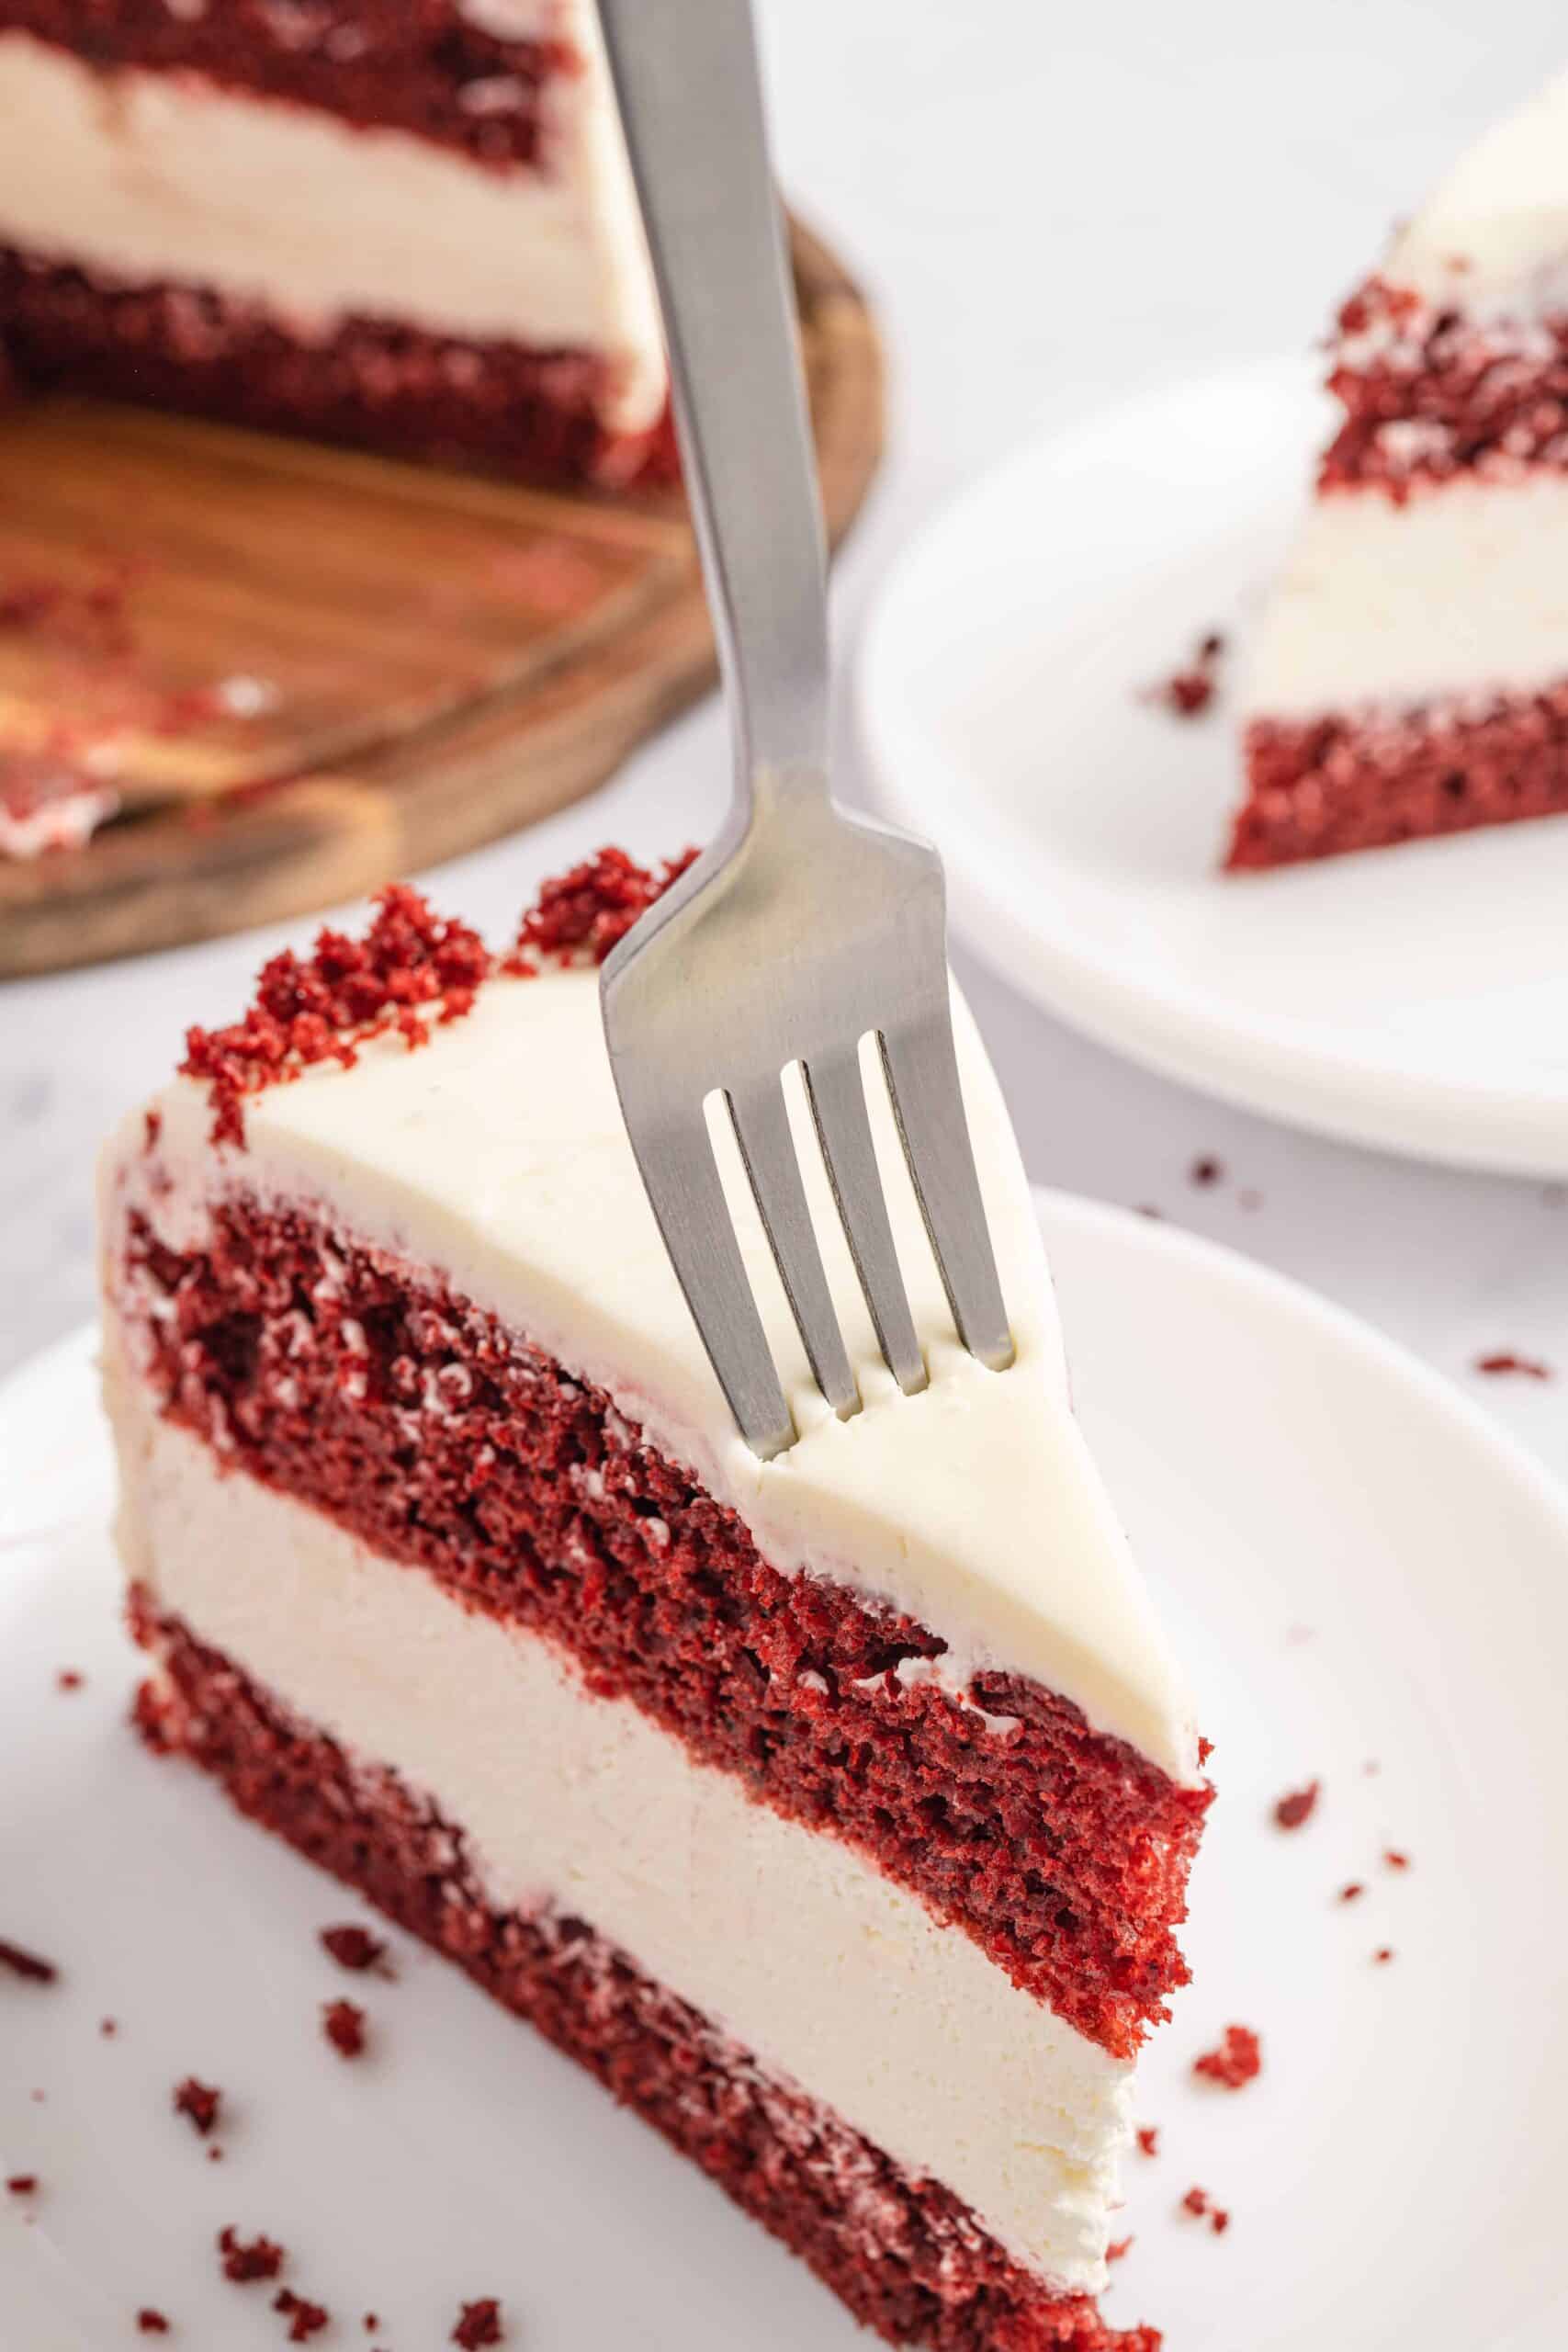
This Red Velvet Cheesecake Cake has a soft and creamy cheesecake sandwiched between two layers of moist red velvet cake. It's covered in a silky smooth cream cheese frosting. The tangy sweet cheesecake pairs perfectly with the richness of the red velvet cake. I love how adding a few simple ingredients can take cake mix from standard to special!
This cake is perfect for celebrations, birthday's, anniversaries and every day occasions but especially Valentine's Day! If you're looking for even more Valentine's treats check out my Valentine's Day Chocolate Covered Oreos, One-Ingredient Chocolate Bag and Trader Joe's Chocolate Cookie Butter Fondue.
Why You'll Love this Recipe
- Because the base is a cake mix, it’s practically foolproof!
- Perfect for celebrations, birthday's, Valentine's day, and anniversaries
- The best of both worlds! It's part red velvet cake and part cheesecake.
- You don’t need a stand mixer
- Leftovers keep well for several days (if you have leftovers, that is)
Ingredient Notes

Red Velvet Cake
Red Velvet Cake Mix - You can’t beat the convenience of your favorite boxed mix. Or make your cake from scratch. I used Betty Crocker Super Moist Red Velvet Cake Mix.
Eggs - Use room temperature egg for easy mixing.
Buttermilk - Replacing the water with milk will make your cake instantly taste homemade, while using buttermilk will make it taste rich and creamy.
Canola Oil or Vegetable Oil - Gives your cake the most amazing soft and fluffy texture and ideal moisture.
No Bake Cheesecake Filling
Cream Cheese - Use block-style cream cheese softened to room temperature. Make sure to use full fat cream cheese for best flavor. Avoid using cream cheese from a tub or spread, as they often contain added water.
Sugar - white granulated sugar sweetens everything up as it breaks down in the cream cheese filling.
Lemon Juice - fresh lemon juice works best.
Heavy Whipping Cream - creates a thick and creamy cheesecake filing.
Cool Whip - full fat cool whip is recommended. Make sure it is thawed.
Cream Cheese Frosting
Cream Cheese - Use block-style cream cheese softened to room temperature. Make sure to use full fat cream cheese for best flavor. Avoid using cream cheese from a tub or spread, as they often contain added water.
Unsalted Butter -Since there’s already salt in the cream cheese I highly recommend going with unsalted butter so cream cheese frosting isn’t too salty. Use room temperature butter for easy mixing.
Powdered Sugar - Also known as confectioners sugar. No substitutes here, this very fine sugar makes for a smooth, non-gritty frosting. If your powdered sugar is super lumpy I recommend sifting before using to ensure smooth frosting.
Step-by-Step Instructions
Red Velvet Cake

- Preheat the oven to 350°F. Grease two 9-inch round cake pans with butter or shortening. Set aside. Next, combine the cake mix, eggs, buttermilk, and oil in a large bowl, and mix with a whisk until well-mixed.
- Divide the batter equally into the two cake pans, and bake for 20-25 minutes or until a toothpick inserted into the middle of both cakes comes out clean.
- Set the cakes on a cooling rack to cool to room temperature.
Cheesecake Filling

- Once the cakes have cooled, add the cream cheese, sugar, lemon juice, and heavy whipping cream into a large bowl.
- Mix with an electric mixer at medium speed until smooth. Add the whipped topping.
- Continue mixing at low speed until combined.
Assembling with Cheesecake Filling
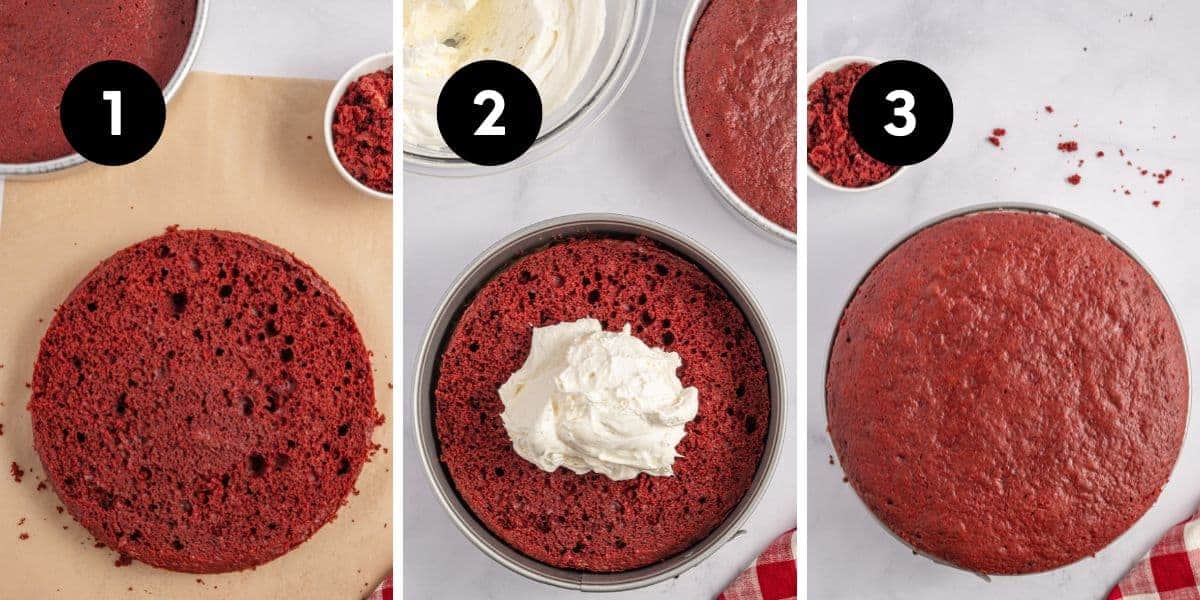
- Line the bottom of a 9-inch springform pan with parchment paper. Run a knife around the edge of the cakes, then carefully remove the cakes from the pans. Set one of the cakes on a flat surface (like a cutting board) and carefully slice off the top of the cake to make it flat and even. Hang on to the extra cake pieces for the crumb topping.
- Place the flat layer of cake into the springform pan, then spoon the cheesecake filling over it and smooth it with a spatula.
- Place the second layer of cake over the cheesecake filling (no need to cut off the top of this piece). The top layer of the cake with being taller than the spring from the pan, but that’s okay. Cover the cake with plastic wrap and place in the refrigerator for at least 3 hours or until the cheesecake layer has set.
Frosting And Assembling

- Once the cake has set, cream together the room-temperature cream cheese and softened butter in a medium or large bowl with an electric mixer. Add the powdered sugar, and continue mixing until the frosting is smooth.
- Carefully remove the ring of the springform and transfer the cake to a cake stand or platter, then spread a thin layer of frosting over the entire cake. This is the crumb layer, so it’s okay if the crumbs get mixed into the frosting. Place the cake in the freezer for at least 45 minutes.
- Apply a thicker layer of frosting over the entire cake. Sprinkle the extra cake crumbs on top or the sides of the cake. Serve chilled.
Expert Tips
Don’t follow the time suggestions on the back of the cake mix box. I find that they are too long, and you’ll end up with a dry cake. It’s best to check the cake at 20 minutes, then add five more minutes if the cake is not done.
The cake may be crumbly, so be careful and take your time when frosting the cake with the final coat of frosting. Freezing the crumb layer will help.
A kitchen scale would be very helpful in getting even cake layers. Weigh the batter, then divide that weight in two to determine how much batter you should pour into each pan.

Recipe FAQ
Red velvet cake is made by combining traditional cake ingredients such as flour, eggs, and vanilla but it also calls for cocoa powder, vinegar, and buttermilk. And, of course, red food coloring which gives the batter that recognizable dark red color. A regular cake uses similar ingredients but does not usually include buttermilk, vinegar and red food coloring.
No bake cheesecake filling firms up in the fridge, and baked cheesecake firms up in the oven. There are no eggs in the no bake cheesecake filling hence it doesn't need to be baked.
A cheesecake cake is a 3-layer cake. The top and bottom layers are a traditional cake – in this case, a red velvet cake. The middle layer is cheesecake filling and the entire cheesecake cake is covered with a delicious cream cheese frosting. Cream cheese frosting is the perfect choice as it pairs with the layer of cheesecake.
Storage
Counter - Because of the cheesecake filling, you should not store this cake on the counter, and you should not leave it out of the refrigerator for longer than two hours at a time.
Refrigerator - Cover and store in the refrigerator for up to 5 days.
Freezer - Cover with plastic wrap and foil and store in the freezer for up to 2 months. Thaw in the refrigerator overnight before serving. You can store the cake and the frosting separately for the best results. The frosting can be held in the fridge for up to 4 days in advance, so I recommend waiting until a few days before serving to make the frosting.
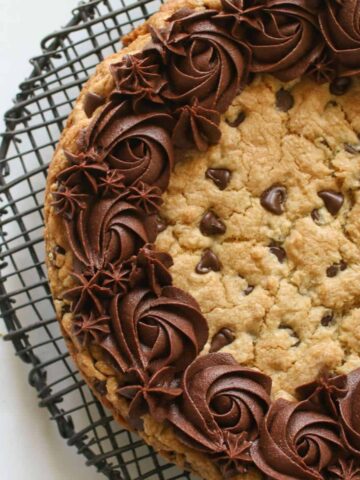
You Might Also Like
PS If you try this recipe, why not leave a star rating in the recipe card right below and/or a review in the comments section further down the page? I always appreciate feedback. You can also follow me on Pinterest, Facebook or Instagram.
Red Velvet Cheesecake Cake
Ingredients
Red Velvet Cake Layers
- 1 box red velvet cake mix 15.25 ounces
- 3 eggs, large
- 1 cup buttermilk room temperature
- ½ cup canola oil
Cheesecake Layer
- 2 8 ounces cream cheese room temperature
- ¾ cup granulated sugar
- 1 tablespoon lemon juice
- ¼ cup heavy whipping cream
- 8 ounces whipped topping thawed
Frosting
- 2 8 ounces cream cheese room temperature
- ½ cup unsalted butter 1 stick, room temperature
- 1 cup powdered sugar
Instructions
Red Velvet Cake
- Preheat the oven to 350°F. Grease two 9-inch round cake pans with butter or shortening. Set aside. Next, combine the cake mix, eggs, buttermilk, and oil in a large bowl, and mix with a whisk until well-mixed.
- Divide the batter equally into the two cake pans, and bake for 20-25 minutes or until a toothpick inserted into the middle of both cakes comes out clean.
- Set the cakes on a cooling rack to cool to room temperature.
Cheesecake Filling
- Once the cakes have cooled, add the cream cheese, sugar, lemon juice, and heavy whipping cream into a large bowl.
- Mix with an electric mixer at medium speed until smooth. Add the whipped topping.
- Continue mixing at low speed until combined.
Assembling the Cake with the Cheesecake Filling
- Line the bottom of a 9-inch springform pan with parchment paper. Run a knife around the edge of the cakes, then carefully remove the cakes from the pans. Set one of the cakes on a flat surface (like a cutting board) and carefully slice off the top of the cake to make it flat and even. Hang on to the extra cake pieces for the crumb topping.
- Place the flat layer of cake into the springform pan, then spoon the cheesecake filling over it and smooth it with a spatula.
- Place the second layer of cake over the cheesecake filling (no need to cut off the top of this piece). The top layer of the cake with being taller than the spring from the pan, but that’s okay. Cover the cake with plastic wrap and place in the refrigerator for at least 3 hours or until the cheesecake layer has set.
Frosting + Assembling the Cake
- Once the cake has set, cream together the room-temperature cream cheese and softened butter in a medium or large bowl with an electric mixer. Add the powdered sugar, and continue mixing until the frosting is smooth.
- Carefully remove the ring of the springform and transfer the cake to a cake stand or platter, then spread a thin layer of frosting over the entire cake. This is the crumb layer, so it’s okay if the crumbs get mixed into the frosting. Place the cake in the freezer for at least 45 minutes.
- Apply a thicker layer of frosting over the entire cake. Sprinkle the extra cake crumbs on top or the sides of the cake. Serve chilled.
Did you make this recipe? Let me know!